

Followers
earnings in under 1 year

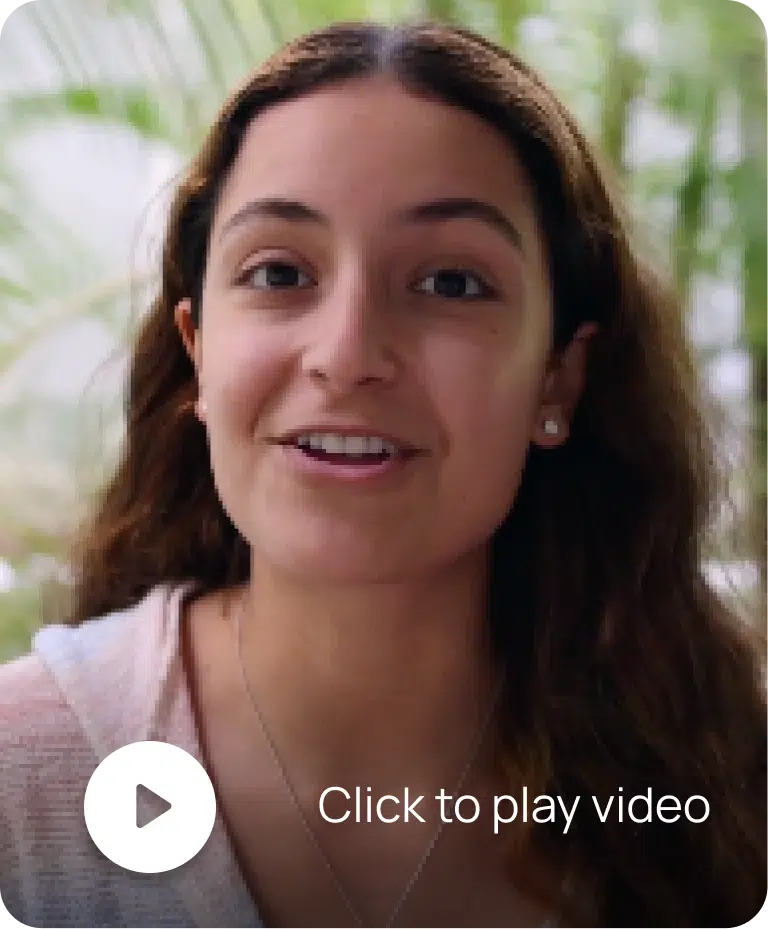
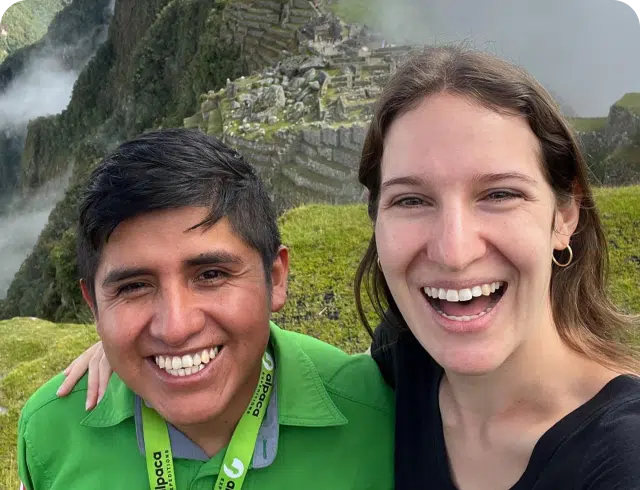
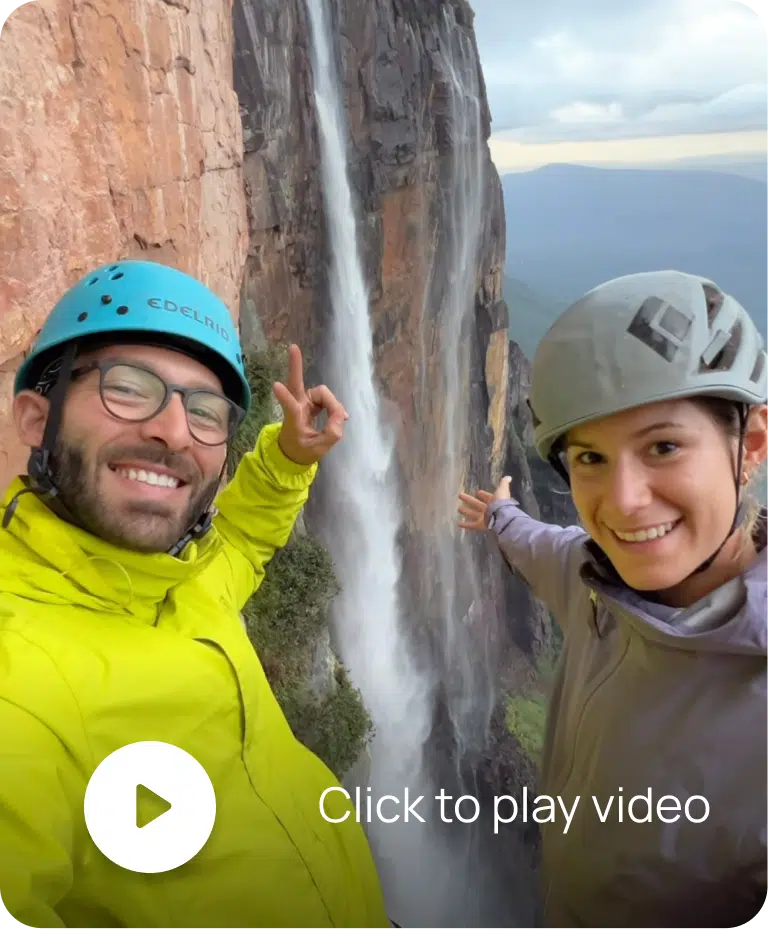
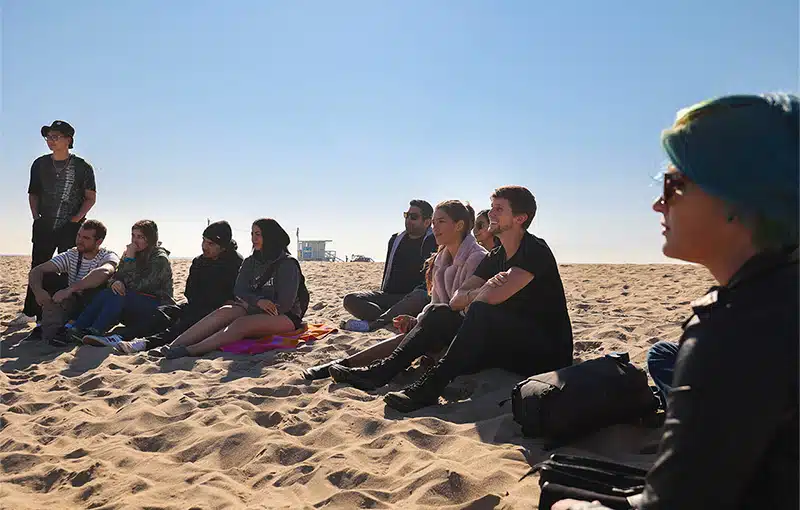
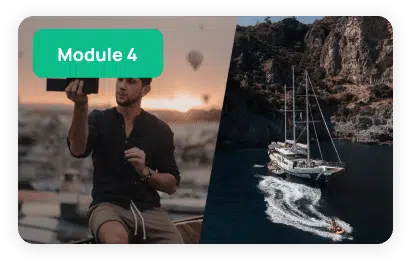
Meet Emmanuel and Valery. They went from couch surfing and just barely scraping by financially until they invested in LCA. Today they have an audience of 1.5 million and are getting paid to work with top brands and travel the world (they even landed a yacht deal using the LCA email templates!)

Followers


Followers

Followers


Followers


Meet Emmanuel and Valery. They went from couch surfing and just barely scraping by financially until they invested in LCA. Today they have an audience of 1.5 million and are getting paid to work with top brands and travel the world (they even landed a yacht deal using the LCA email templates!)

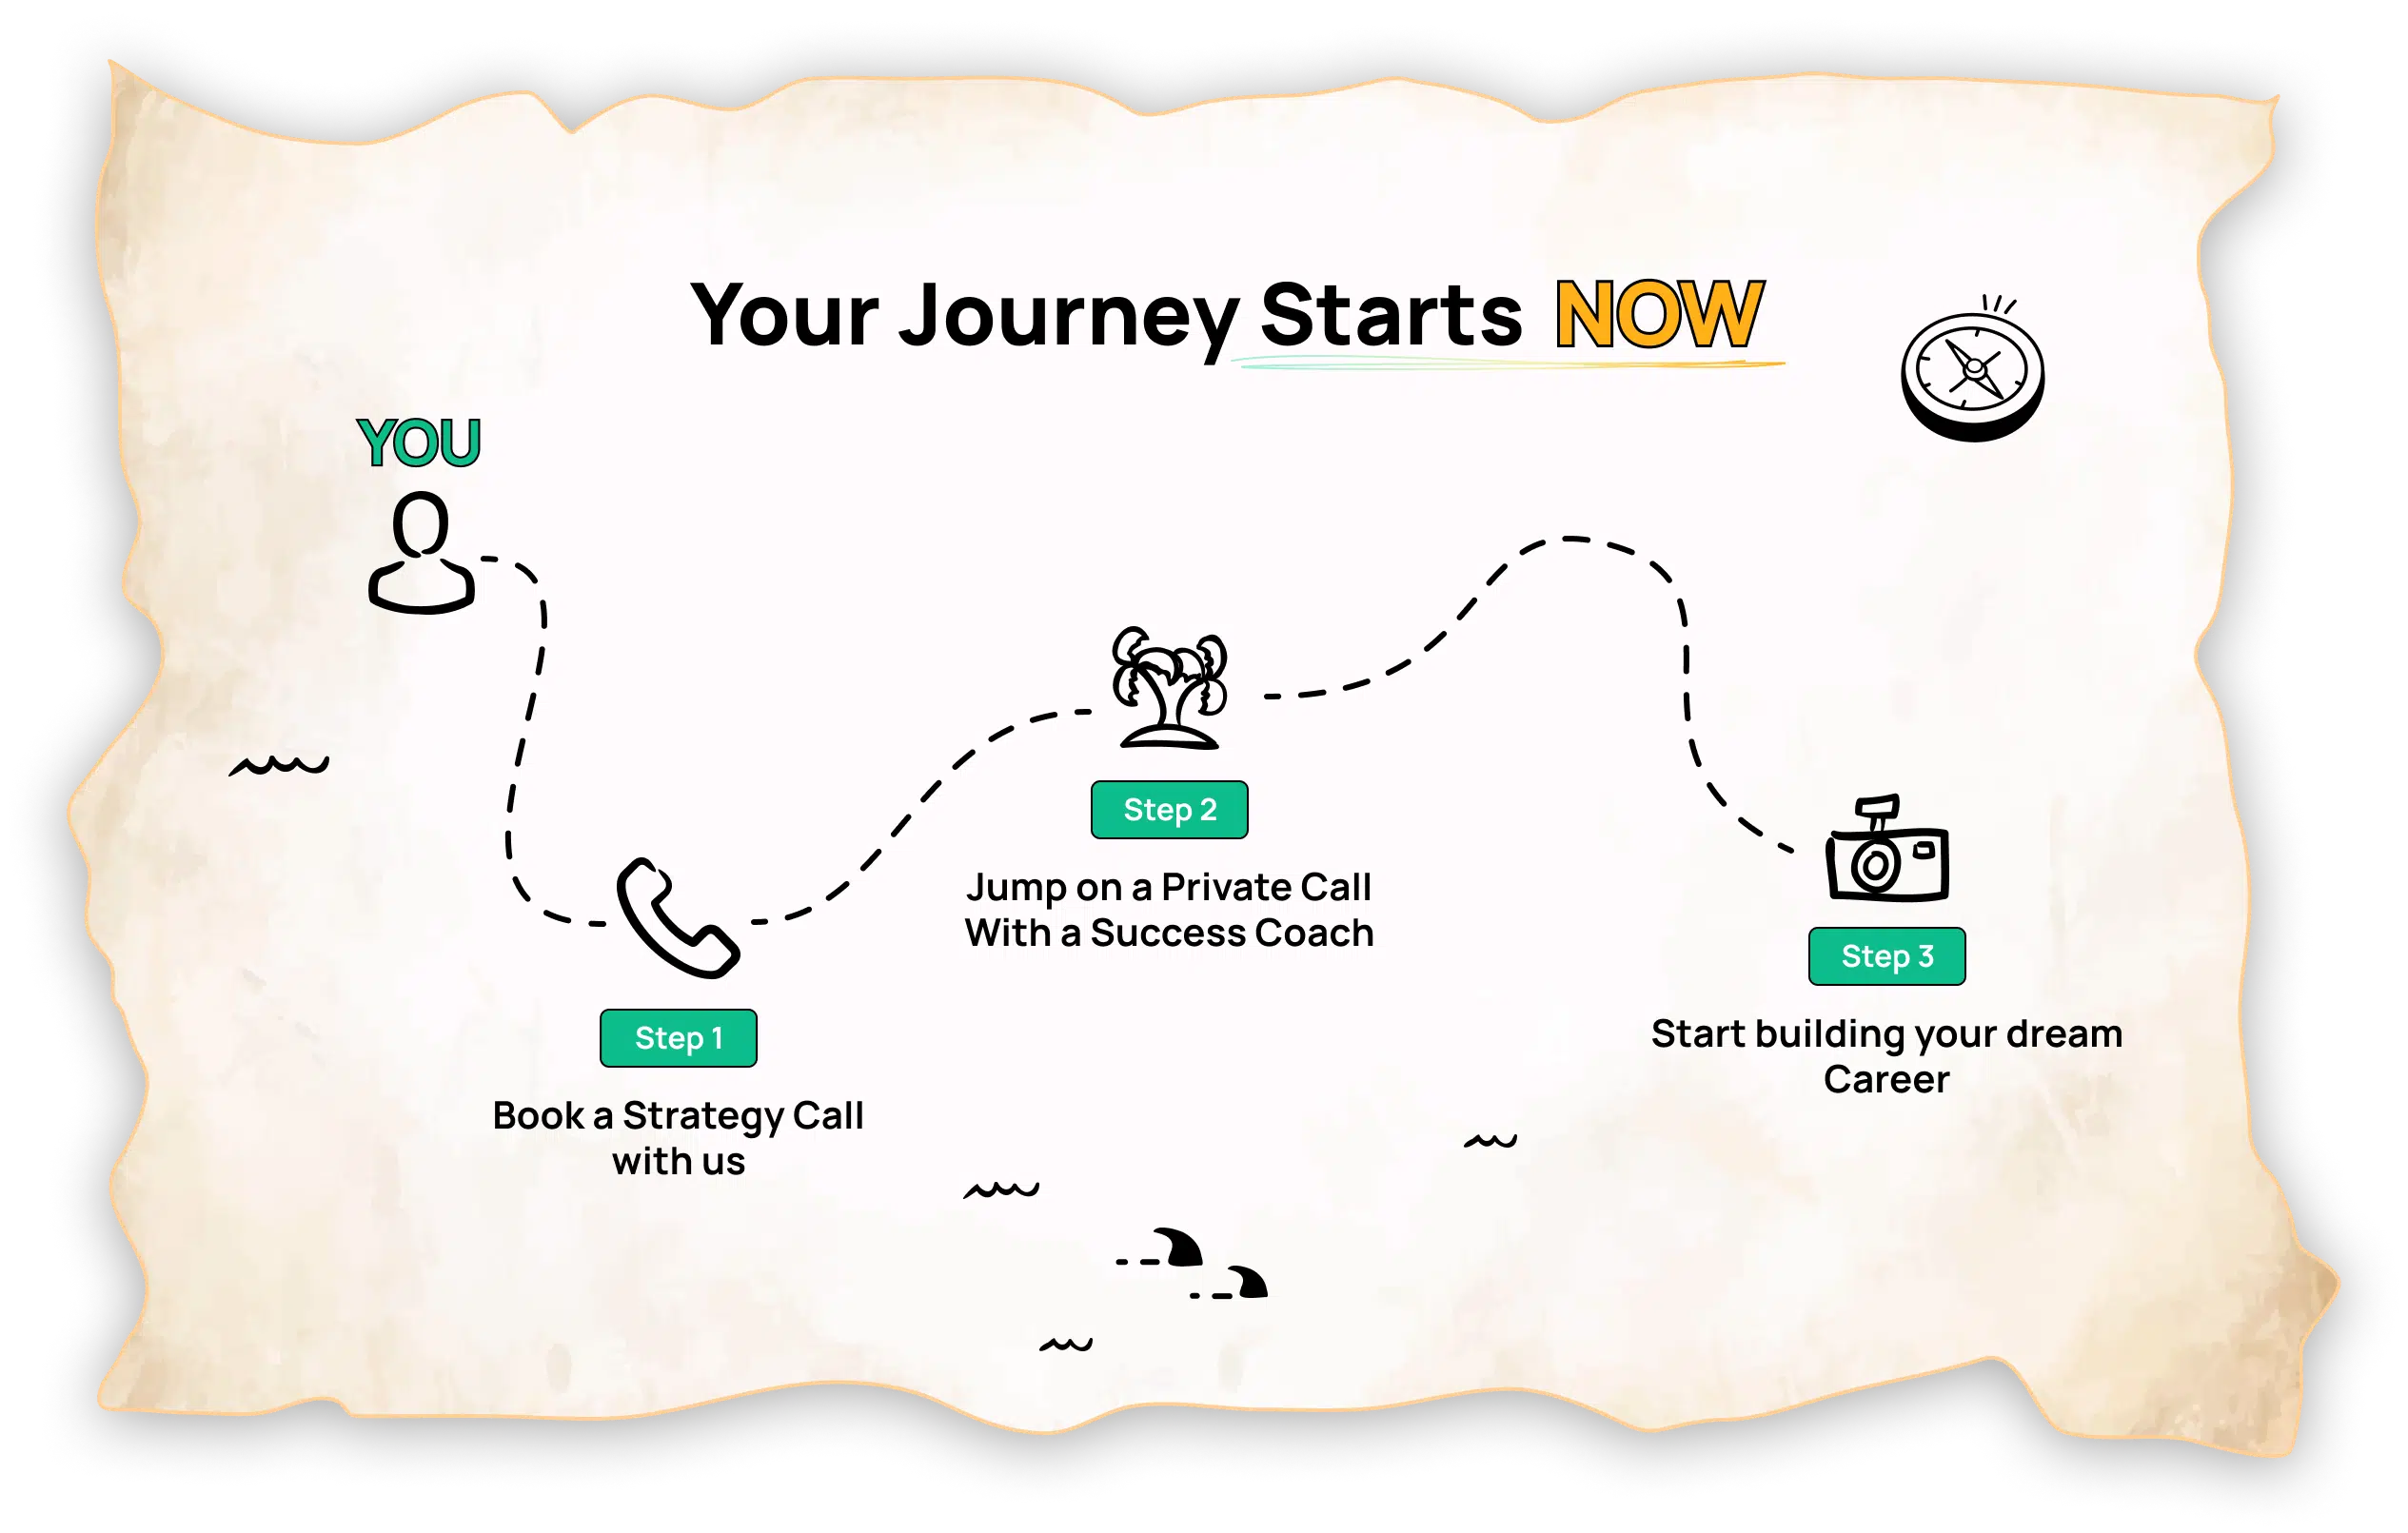
We are so confident that we can help you replace and OUTPACE your income from your current job using our systems that we even guarantee your investment.


I will teach you how to negotiate and land brand deals, how to price yourself, how to get free hotel stays and experiences and how to build multiple income sources as a creator or business…
I will teach you how to negotiate and land brand deals, how to price yourself, how to get free hotel stays and experiences and how to build multiple income sources as a creator or business…

LCA gives you ALL the insider tips, tricks and secrets to becoming a successful content creator. Become a pro in the business, and master your creative craft!
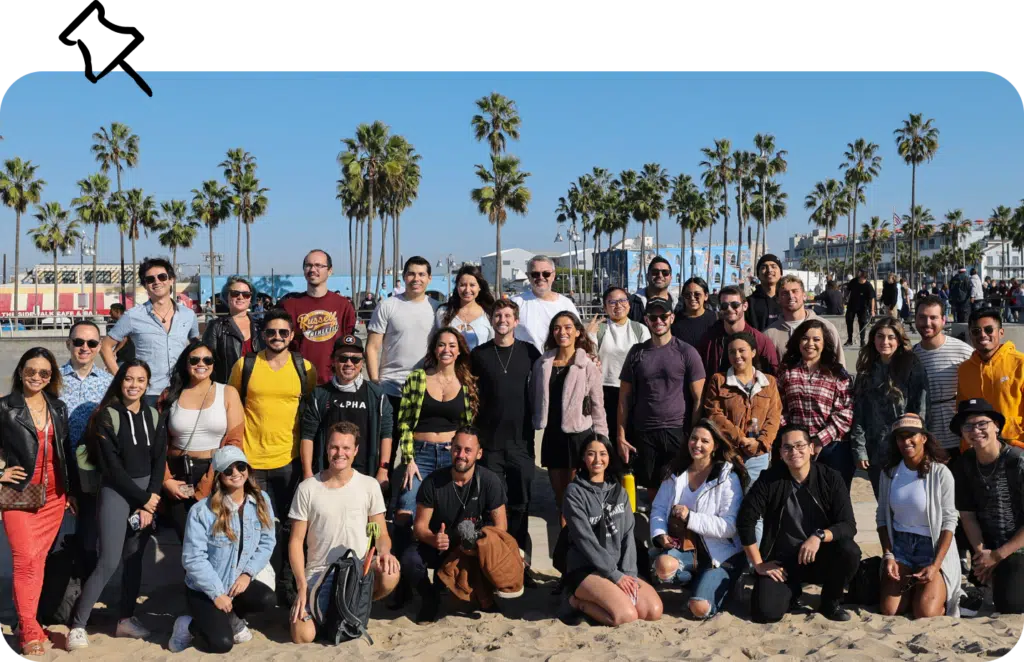
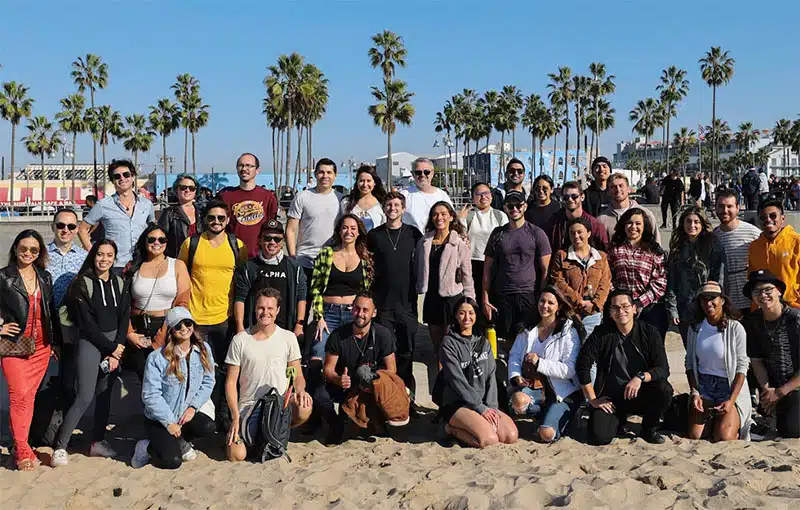
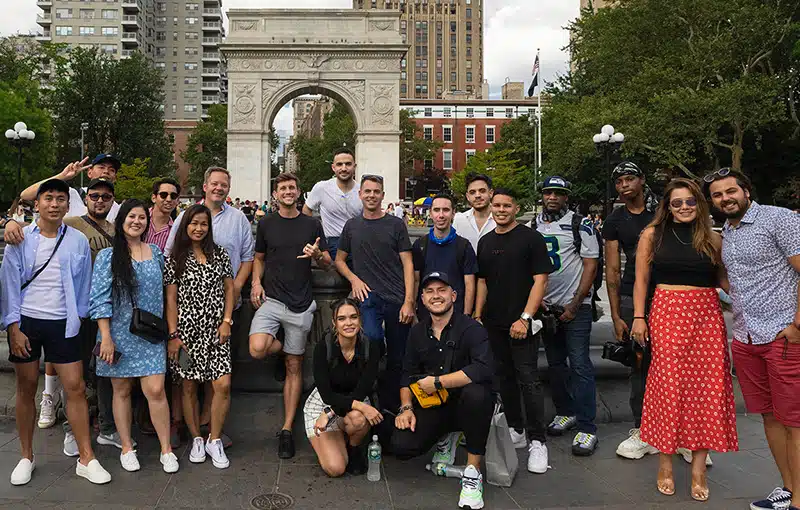
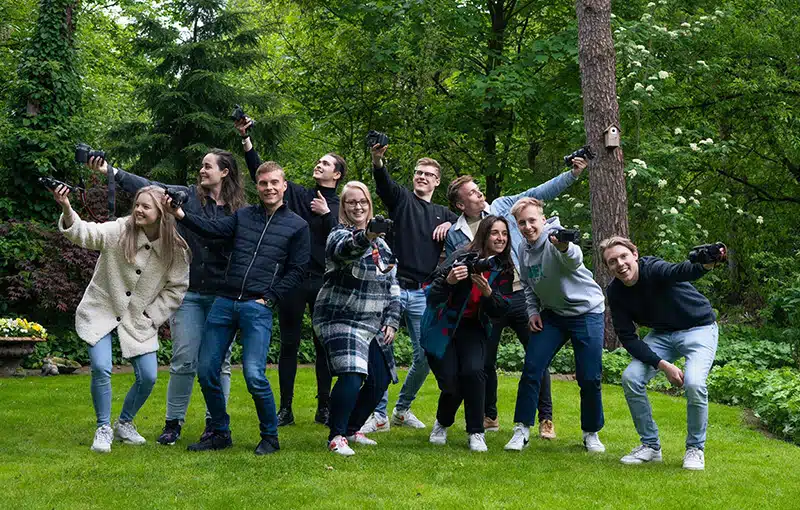
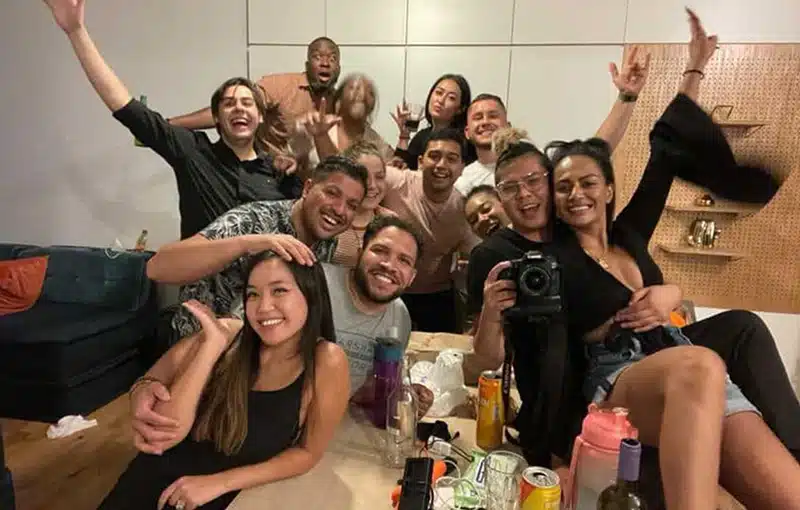
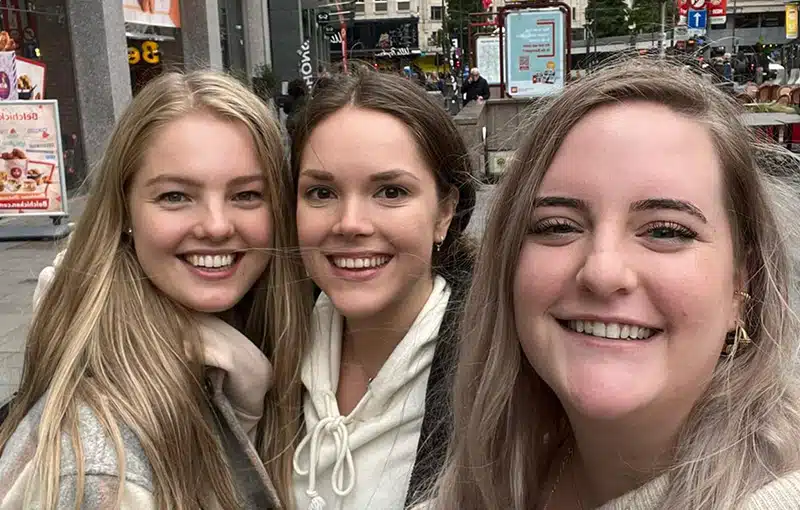
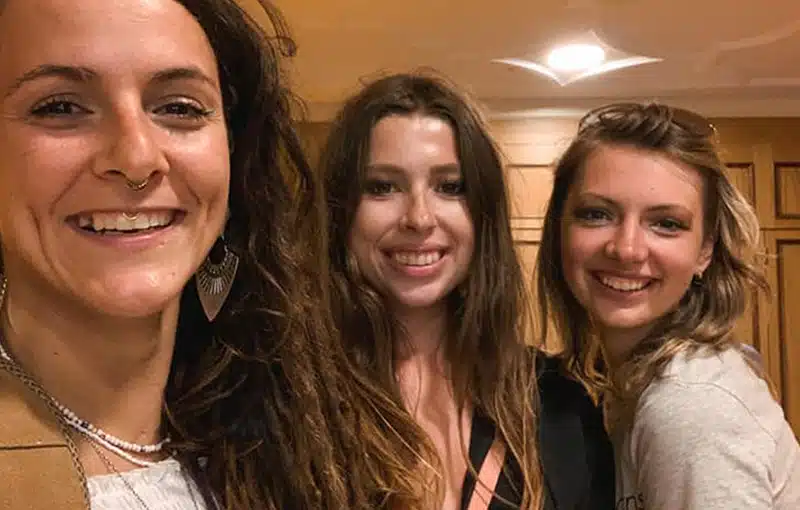
Share your journey with 5,000+ like-minded creators who will be there to support you through the highs and lows of your journey.
LCA gives you ALL the insider tips, tricks and secrets to becoming a successful content creator. Become a pro in the business, and master your creative craft!
Share your journey with 5,000+ like-minded creators who will be there to support you through the highs and lows of your journey.
Seven years ago, I was an unsatisfied accountant with $2,000 to my name. I quit my 9 to 5 job, opting for a path that radically transformed my life.
Today, I’m a celebrated creator and industry leader with 2.1 million YouTube followers, and 4 million in total across platforms. I turned my love for storytelling into a multi-seven figure business with 8 income streams. I’ve partnered with top-tier brands, tourism entities, and global five-star hotels.


No, this is a common misconception. LCA shows you how to create AMAZING travel content but these lessons are 100% relevant no matter what genre or category of content you create. If you are a personal trainer, a beauty vlogger, a food blogger or really anyone that wants to grow your online presence and elevate your brand with beautiful content, then LCA is for you!
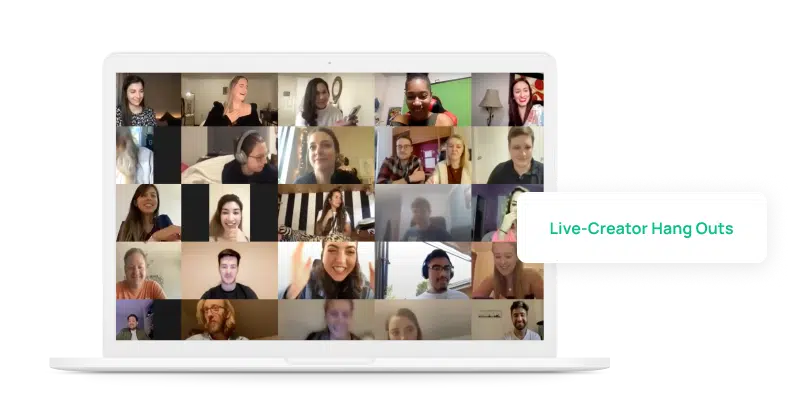
You get direct access to ME and my team within the private community. Got a question about a new lens you’re considering buying? Ask us. Having a hard time finding paying clients? Let’s chat strategy and tactics. Want feedback on a recent video? I’d love to review it and share my thoughts and feedback.
YES. It’s that simple. Buy once, learn and grow with myself and the community for life.
LCA now has over 5,000 members and each and every one of them has raved of the insane amount of value they got for their investment. And because the academy’s content grows daily, your investment only becomes more worthwhile by the day. When you land your first paying client because of LCA and break the many months of slow social growth, this will become the best investment you’ve ever made.
“LCA is worth every dollar! I love the community and I am already seeing progress in my work” @Sarah_Sittezoellner.
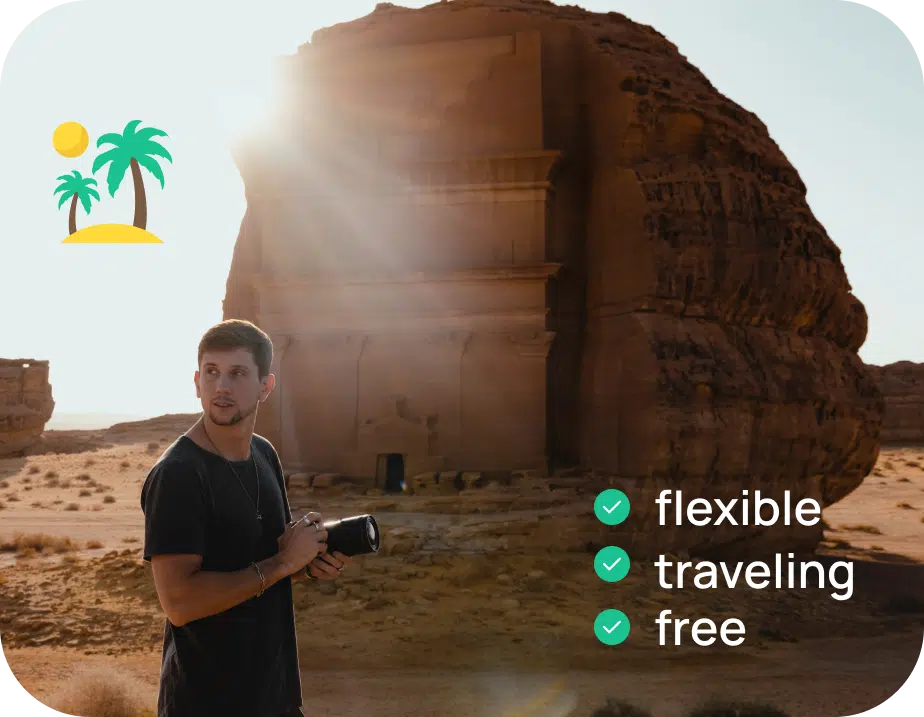
If you go on to practice the business and creative skills taught in LCA, you will be ready to start earning thousands of dollars as a freelance videographer and photographer from ANYWHERE.
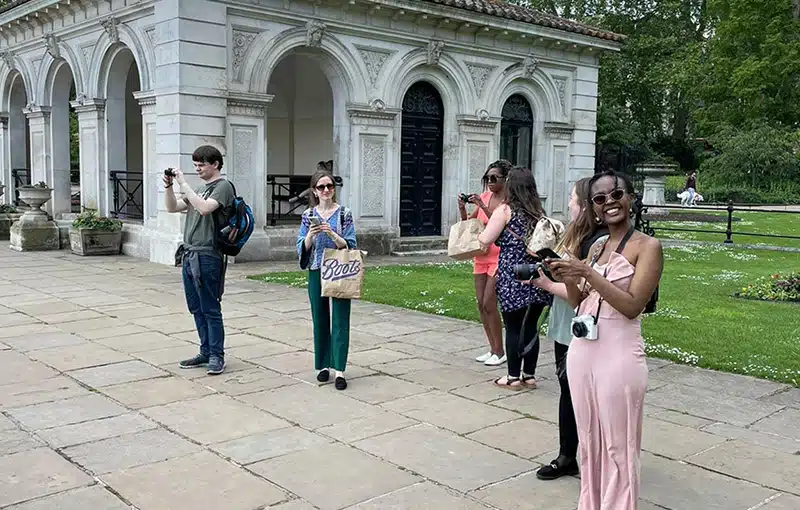
Dozens of LCA members have said that their favourite thing about LCA is the community group. It has enabled members from around the world to collaborate, plan trips together, and support one another in growing their businesses. It has enabled members to be able to share this unique journey with likeminded individuals who they would not have been able to find otherwise. In addition to community, this is where you can ask your questions, get feedback on your work, and join in on the countless Creator Challenges we host in the exclusive community group!
ANYONE can enter LCA and with time and practice become a true professional. It’s built for any skill level!
If you have a head start, then that is fantastic because we have a ton of high-level editing tutorials, business mastery and creator challenges that will take your current skills and push them to improve. LCA is built for any skill level!
This is my new full-time job. Content will continue to grow for many years to come and there is no end in sight.
Due to the academy being an online course, good internet connection will ensure for great video playback.
You can start today without any software by focusing on the business modules and even some of the creative basics but when it’s time to dive into editing, you will need a way to edit. You can certainly start with free editing software for mobile phones and computers however I recommend you get started with Adobe’s creative suite (Photoshop, Lightroom, Premiere Pro) or FinalCut Pro X.
No! It is unrealistic to immediately drop all your responsibilities to chase your dreams BUT that is why I will teach you how to build the skills as quickly as possible until you are ready to make the jump into being a full-time content creator.